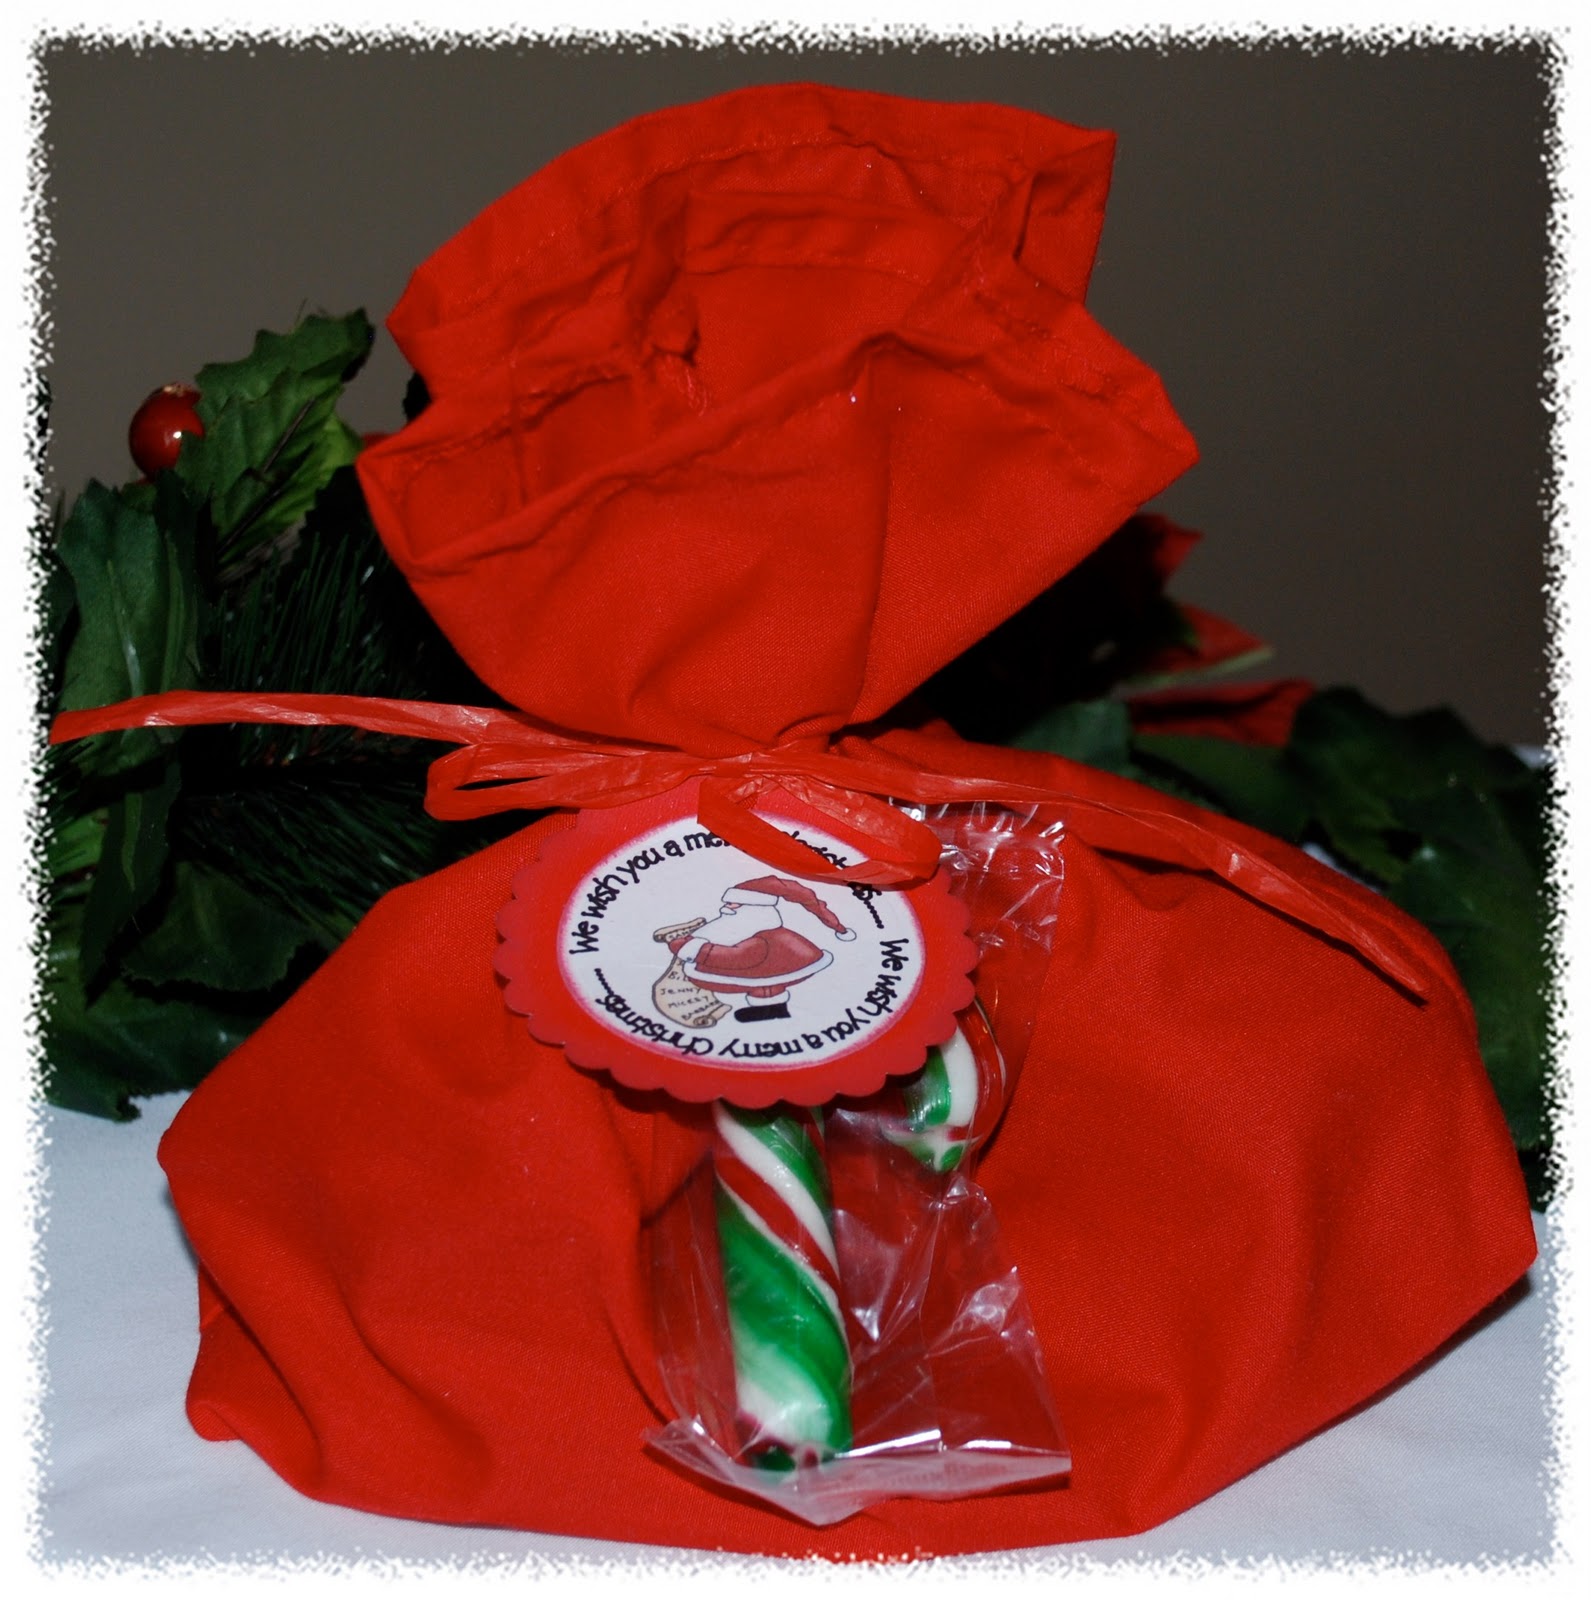
CLICK HERE FOR FREE BLOGGER TEMPLATES, LINK BUTTONS AND MORE! »

Monday, December 13, 2010

Santa's sack


Hi Fellow Crafters'

For the kids in my class as a farewell gift (we finished our school year on Friday), I decided to make these little Santa sacks (you can find countless tutes on how to make similar totes around the web). But here is a  photo of the bottom of the bag to give you an idea of what I did.

One of the things I put inside was a little tub of homemade glittery, cinnamon play dough.

I made up a batch and then divided it between smaller containers. This is the easiest and best play dough recipe I have ever made and it really does last for months, if kept in an airtight container.


The Recipe:

2 cups all purpose flour
1 cup salt
4 tsp cream of tartar
2 Tsp vegetable oil
2 cups boiling water
food coloring of choice ( I have used gel, liquid and powdered food coloring and all work equally well)
1 Tsp glitter (color of choice)
1 Tsp ground cinnamon
1 tsp all spice
{Note: Tsp = tablespoon, tsp = teaspoon}

The Method:
1. Place all the dry ingredients into a mixing bowl, stir together with spoon
2. add the food coloring, oil and boiling water
3. mix together using an electric mixer - I use the K-beater attachment on my mixer
4. add in the glitter, cinnamon and all spice, mixing all the time until well blended
5. allow to cool slightly and store in an airtight container.

Another variation I tried for my class for fun was to add cocoa to the above recipe- the kids loved the chocolate - cinnamon smell.

Happy crafting.


Friday, December 10, 2010

Kids Crafts

Hi Fellow Crafters'

Here are some of the Christmas crafts we made in class this year, bear in mind my kids are 3 years old.

These are basically ideas I got from around the web and some of them I added my own twist to.

First up, I made countless hand prints using both the childrens left and right hands. I then assembled this Christmas "tree". They LOVED it, they were especially excited that I had used their hands. Been 3 I was worried about using an actual tree as I was afraid they might pull it on top of themselves, so I felt this was a good alternative.

Second, I continued using hand prints to assemble wreaths. I used a paper plate for the backing, I just cut out the center of the plate and used the outer rim as a base to stick the hand prints onto.


I saw the idea below on the Catholic Toolbox -> HERE. I just added the stable and star. Great craft to teach the shapes rectangle and circle and how they can be put together to represent a baby.
Next, I used a free download from Lauren Meader on the PTI site -> HERE. I used them on the "mantle" of the "fireplace" on the display board outside my classroom.
Then I took a coloring page of Santas head and we practiced our fine motor skills, cutting and pasting!
We also colored in this nativity and I cut some angels using a Sizzix die I have.

Hope you have found some inspiration for activities to do with your little ones before Christmas.

Happy Crafting.

Saturday, November 27, 2010

Pop on over - freebies and a tutorial

HI Fellow Crafter's

After seeing this blog post on how to make your own microwave popcorn, I came up with the idea of using homemade micro popcorn as favors or even an invitation!

I settled on the idea of using them as an invitation to a Christmas movie marathon.


The back of the tag.


Here's what I did :
1. Take a brown paper bag. I had red ones so I used them. Place 1/4 cup of popcorn (your normal everyday one) into the bag.


2. Fold down the top edge twice and secure with a piece of sticky tape (no it does not melt in the microwave- if you were wondering :-) )

3. Sticky tape side up, fold both ends towards the center, overlapping slightly.
4. Embellish as desired. Place a note on the back that reads: (Free to use: Click and save)


Here is the tag for you to use: (Free to use: Click and save)


Some other ideas I have for the microwave popcorn.
- Gift as a DIY popcorn garland. Wrap a length of string with a needle around the micro popcorn.


- Gift as a Pop on over Santa request for your kids class mates.


Another suggestion if you only have the brown bags is to make a sleeve in a Christmassy color or using Christmas DP to go around your bag.

Happy Crafting.

Friday, November 26, 2010

Santa Suit Gift Card holder

Hi Fellow Crafter's
I have been hectically busy with school these last few weeks, finalizing reports and attending to all the year end happenings. I have however had to find time to finish off the gift card holders for all the teachers on my list.  Below is one of those I have made. 

 Here is a view of the inside


Here is how I made it:

For the outside holder:
1.  Cut a piece of red card stock 6 7/8" x 10 1/2".
2.  Along short edge score at 2" and 4 7/8" as indicated by arrows.
3. Turn card stock along long edge and score at 4" and 8".
4. Cut away the sections marked by the A
6. Fold along the scored edges. The back pieces fold slightly overlapping each other. Place glue along one edge and fold to glue together. Before gluing I made a notch in the top, so that it would be easier to pull the gift card out. I also used my notch tool to make a notch in the one of the sides before gluing so that I could later tuck in the top flap to close the gift card holder (see finished back view below)
7. Now place glue along the bottom flap and glue in place.
8. Turn the pouch over and embellish. Finished size should be 3" wide.


For the front- Santa Suit:
1. Cut a strip of cream card stock 1 1/2" x 7". I then using my pinking shears to cut a deckle edge.
    {click on image for a larger view}
 2. Cut a strip of black card stock 3" x 1".

 3. Cut silver card stock making a 2" square and cut a 1" square out of the center of the 2" square.
Put it all together as shown below.

Now for the inner gift card holder.
1. Cut a piece of cream card stock 2 6/8" x 6 7/8".  Measure your gift card and make notches in the correct place. I then embellished using my holly sizzix die. I placed the holly on the bottom notch so as to hide it. I then stamped my sentiment at the top of the holder.
Now insert the inner card holder onto the pouch.

 How the back flap closes:

 And there you have your pouch gift card holder. I can imagine this as a snowman or even a reindeer depending on the recipient.

Happy crafting.

Wednesday, October 27, 2010

You've been "elfed" - well maybe only half!!!!

Hi Fellow Crafters

Well my scanner is not working so I can't share the pattern just yet, but I couldn't wait to share my latest creation- "Elfpants tote"(can I call this a tote?????). Anyhow seeing all the witch leg "flying" around the blogs for Halloween I got to thinking and came up with a Christmas version using Elf legs. They stand on their own so I thought they'd even be cute for decor on a Christmas table.

 
I thought they might look nice with some Christmas colored candies inside, or even maybe some poinsettia's.

Here is a close up of the elf shoes, I added a small jingle bell to the tip.


In the pic below you get a better idea of its use as a tote, I gave the pants suspenders to act as handles.

Anyway I hope my scanner is back in operation soon so I can share my pattern and step by step how to. I'd love to know what you all think of the "Elfpants".


Happy Crafting

Sunday, September 26, 2010

Santa Hat Gift Card Holder with Tutorial

Hi Fellow Crafters'

Edited to add: I have linked this up for the challenge over at Winter Wonderland-> here.

Hope you have been having a super week-end. I got up this morning with an idea running around my head for some gift card holders I need to make for Christmas gifts for my boys' teachers in early December. So I got drawing and cutting. This is what I came up with for one of them.


 And here is how I did it:
Step 1: Print out the template - just right click and save as, then print.

 Step 2: Cut out all the pieces, note cut 2 of the hat trim.
Step 3: Add glue to the outer edge of one of the pieces of hat trim as shown below, don't put glue all
            the way around!

                Add the second piece on top of the glue.

                  It should look like this when glued together.
Step 4: Insert the red part of the hat into the opening.

 Step 5: Make a hole and insert a split pin on the left hand side making sure to go through the red hat  
             portion as well.


                   Once split pin inserted and secured check that the hat "opens", by swiveling the red part
                   upwards.
Step 6: Add the pom pom to the top of the hat.
Step 7: Turn card over and inset the gift card in the white portion as shown.
Step 8: You are finished. Decorate as desired.


I'd love to see your creations if you use this template - remember for personal use only please.

Happy crafting